Laboratory & Specimens
From the order to the validated report without a paper requisition: the test catalogue with reference ranges by sex and age, specimens with a barcoded label and a chain of custody from the ward to the bench, result entry with abnormal and critical flags, pathologist validation before release, and a results-ready message to the patient.
Where:Laboratory › Requests · Specimens · Results · Configuration › Test Catalogue
Before you start
- Test catalogue
- Laboratory › Configuration › Test Catalogue: tests and panels, parameters with units and reference ranges by sex and age band, the sample type and container, the service (price) each test bills.
- Sections
- Haematology, chemistry, microbiology, serology… each with its bench.
- Billing gate
- Patients › Configuration › Settings › Charge before the sample is taken: on, a specimen cannot be collected until every test on the request is charged; off, the laboratory shows the warning and continues.
- Label printer
- The specimen label is 62 × 32 mm with a Code 128 barcode; any label printer at that size works.
How to
Receive an order and collect the specimens
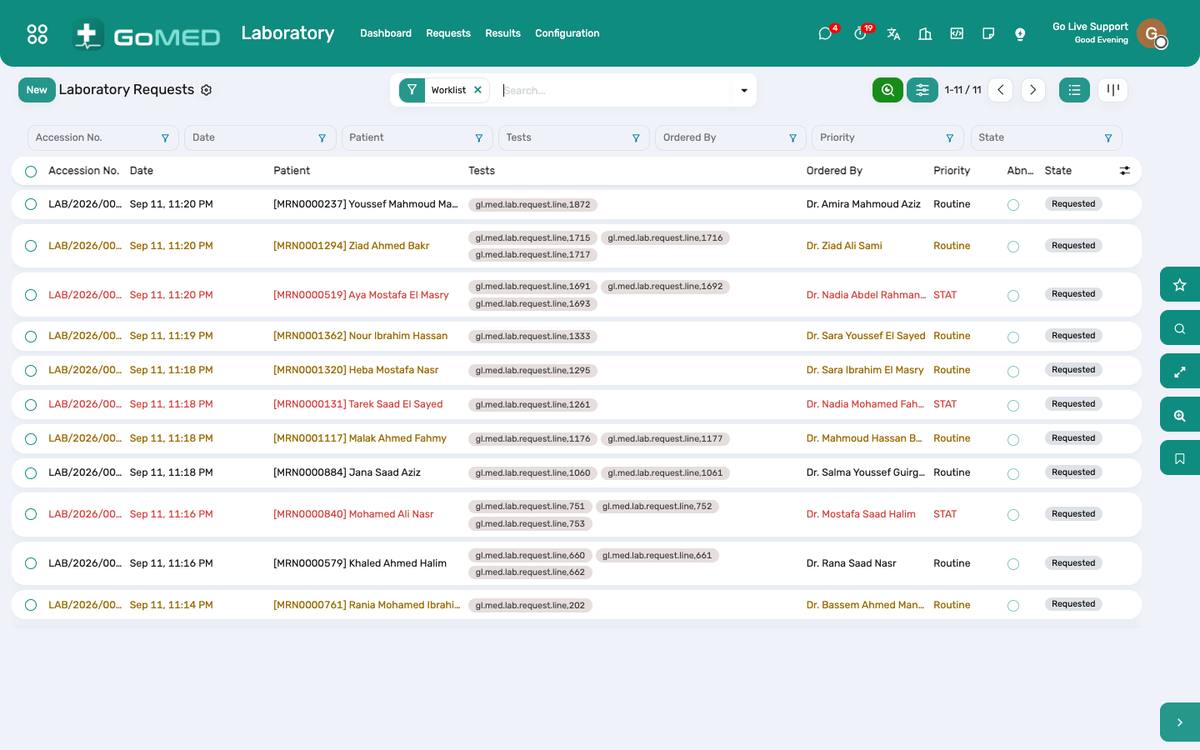
- Laboratory › Requests › filter To collect: orders from the clinics, the wards and the ER, and requests typed at the desk.
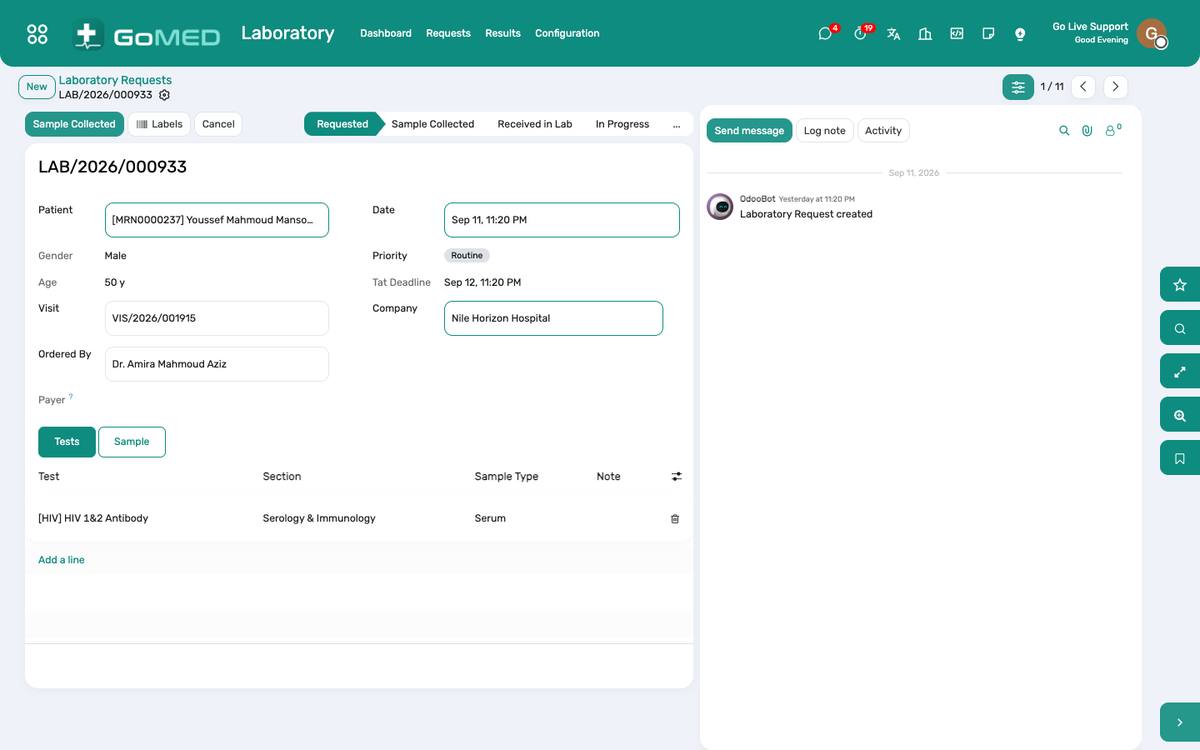
- Open the request; Collect creates one specimen per sample type (EDTA, serum, citrate, urine, swab…) with its container and barcode.
- Print the label for each specimen and stick it on the tube at the bedside after scanning the wristband.
- If the billing gate is on and a test is not yet charged, collection is refused with the tests named: send the patient to the cashier first.
Send, receive and reject specimens
- On the ward, Send marks the specimens in transit with the time and the porter.
- At the bench, Receive scans the label: the transit time is recorded; the request moves to Received once every specimen has arrived.
- Reject a haemolysed, clotted, mislabelled or insufficient sample with the reason: the ward is told what to do differently and a fresh specimen is requested with Re-collect.
Enter and flag results
- Laboratory › Results, or the Results tab of the request: type each parameter; the reference range applies and flags high, low or critical.
- A critical value alerts the ordering practitioner immediately and is logged.
- Attach the analyser printout or an external report if needed.
Validate and release
- The pathologist opens the request › Validate: the report is signed and released to the visit, the portal and the app.
- A results-ready SMS goes to the patient if SMS is on.
- Amend a released result through Amend: the previous value stays visible with the correction.
Read the laboratory dashboard
- Laboratory › Dashboard: requests today, pending collection, in transit, awaiting validation, critical values, turnaround per test, rejected specimens by reason.
Questions the desk asks
The wristband will not scan.
Type the MRN in the specimen’s patient field and note the reason; the scan is preferred, not mandatory.
Can an outside laboratory’s result be recorded?
Yes: create the request with the external flag, attach the report under Documents and enter the values so they trend with the hospital’s own.
See also: Prescriptions & Orders Bills, Charges & Cashier SMS Messages Nursing Station & Barcode eMAR